A single option instead of four cycles
KinematicsOpt
- applies the recalibration,
- saves all of the data regarding changes to the kinematic configuration,
- allows you to easily restore past configurations at any time, and
- accommodates documentation requirements, such as for the medical technology industry
In addition, KinematicsOpt groups special probing cycles together, so that they are fully integrated into the TNC control and can be called as separate functions:
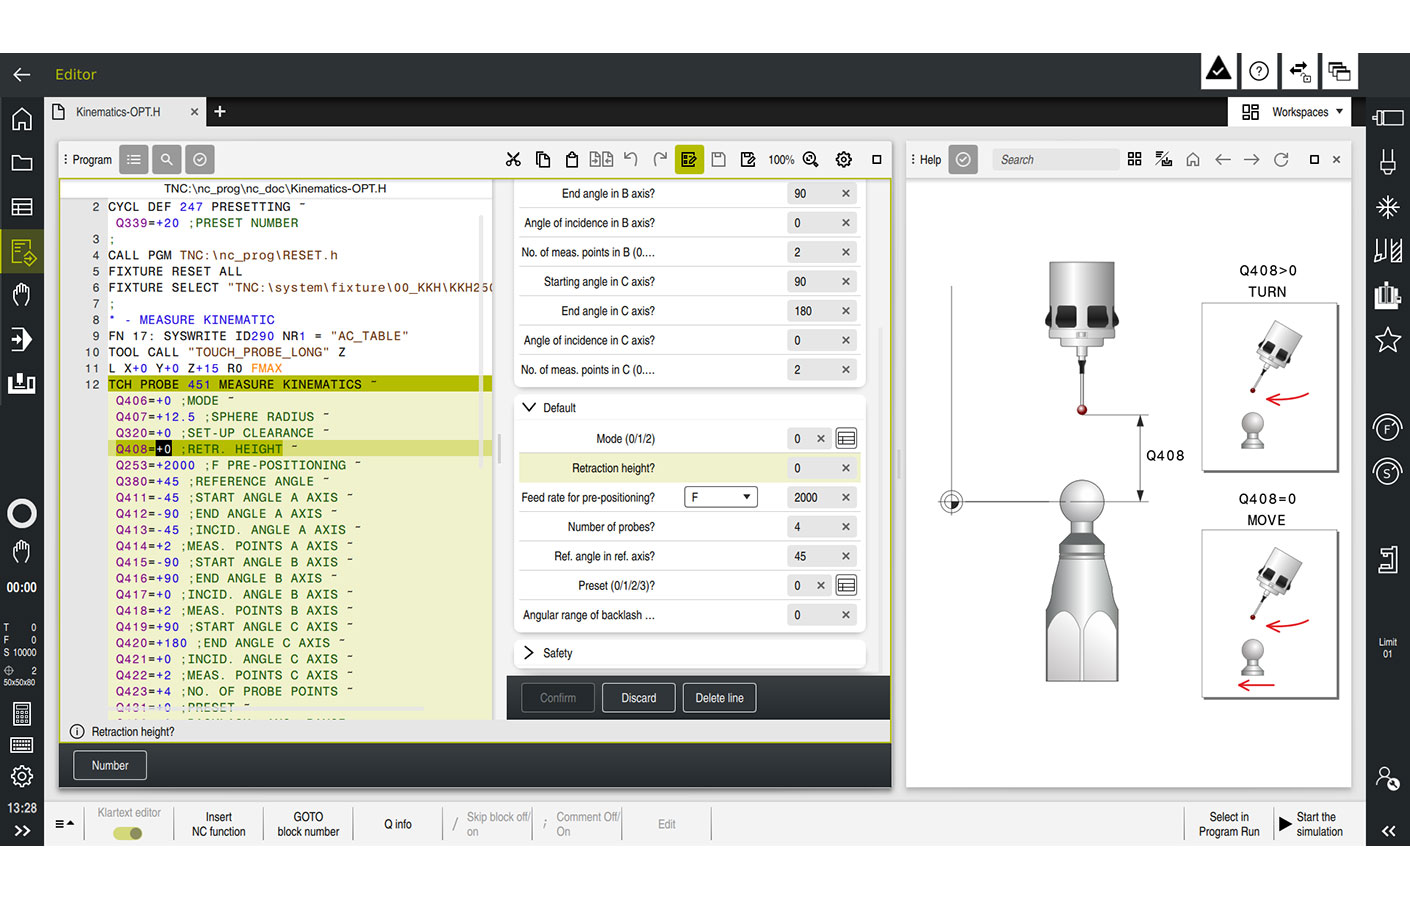
- Cycle 451 MEASURE KINEMATICS
- Cycle 452 PRESET COMPENSATION
- Cycle 450 SAVE KINEMATICS
Adjustment of interchangeable heads
You can use KinematicsOpt on large milling machines to adjust the interchangeable heads based on a defined reference head. As a result, you can ensure that the workpiece preset remains unchanged after the rotary axes have been changed (head change).
Drift compensation
During machining, various machine components undergo drift caused by changing environmental factors and temperature changes. If the drift is sufficiently constant over the range of traverse, and if a calibration sphere can remain on the machine table during machining, then you can use Cycle 452 from the KinematicsOpt package to ascertain the amount of drift, store the values in the control, and compensate for them. This makes KinematicsOpt attractive for use on three-axis machines as well.
In-process, fully automated measurement
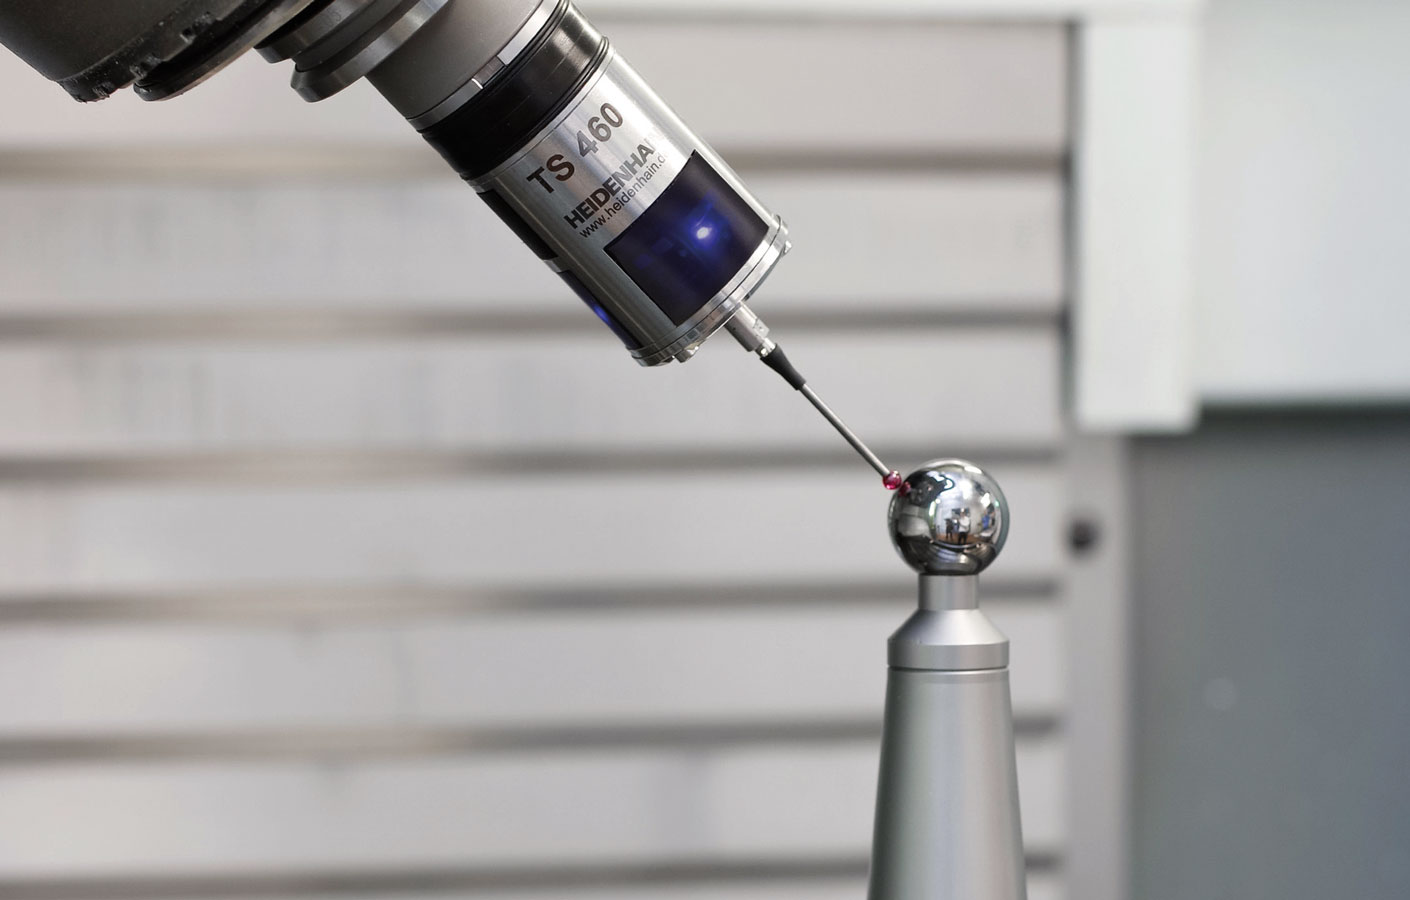
If desired, KinematicsOpt can utilize the ascertained data to handle the optimization of the measured axes and make the necessary changes to the machine data fully automatically. If the calibration sphere is firmly mounted to the machine table, then the entire procedure can be performed efficiently and automatically between individual machining processes.
For industries such as the aerospace industry and the medical technology industry, the required inspection and validation processes can therefore be performed with much shorter interruptions to the production process and with less cost and effort.

